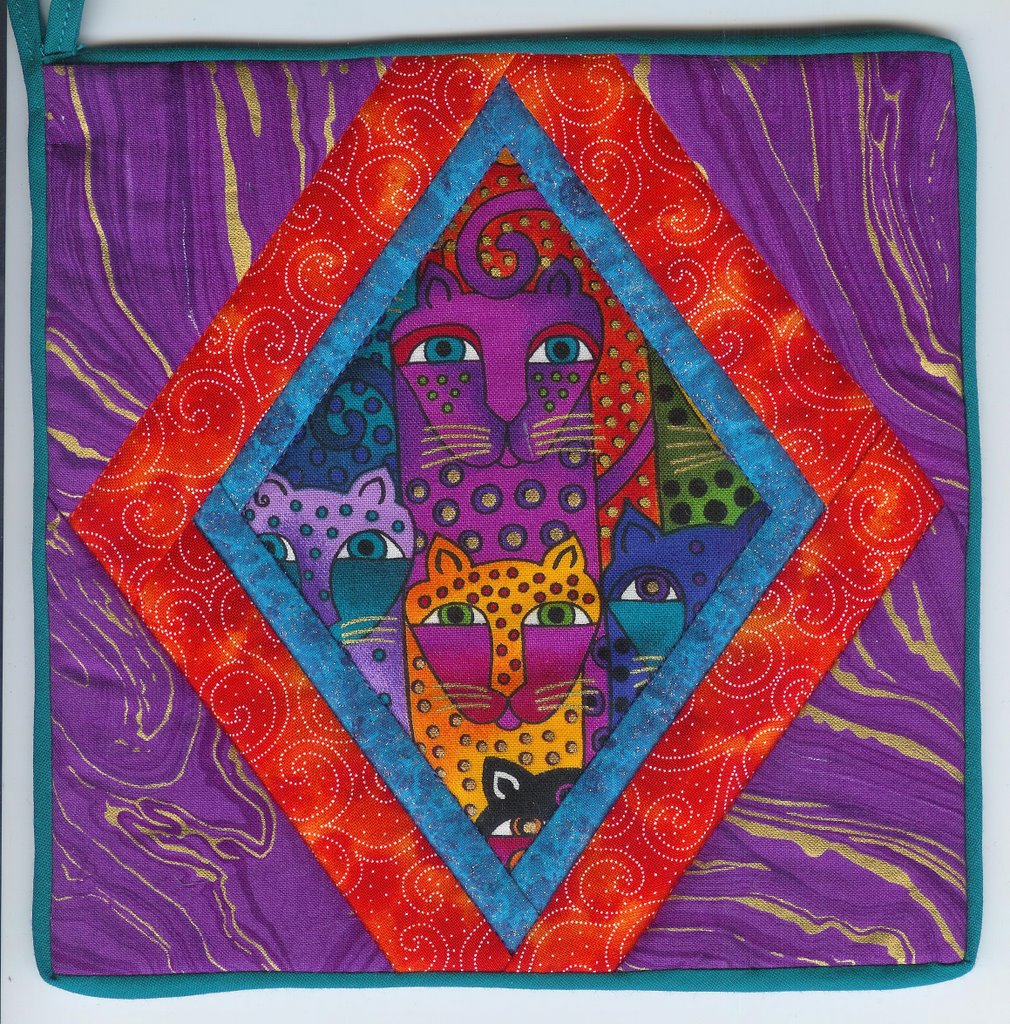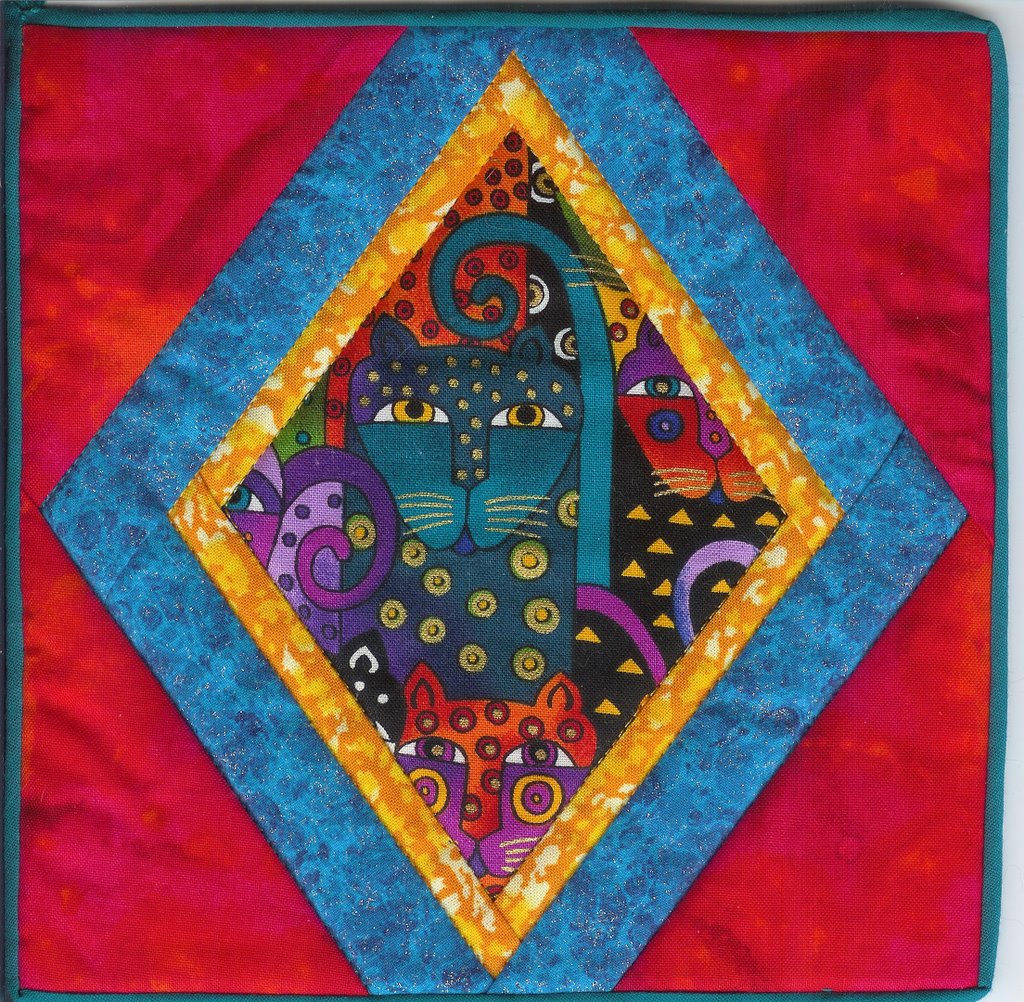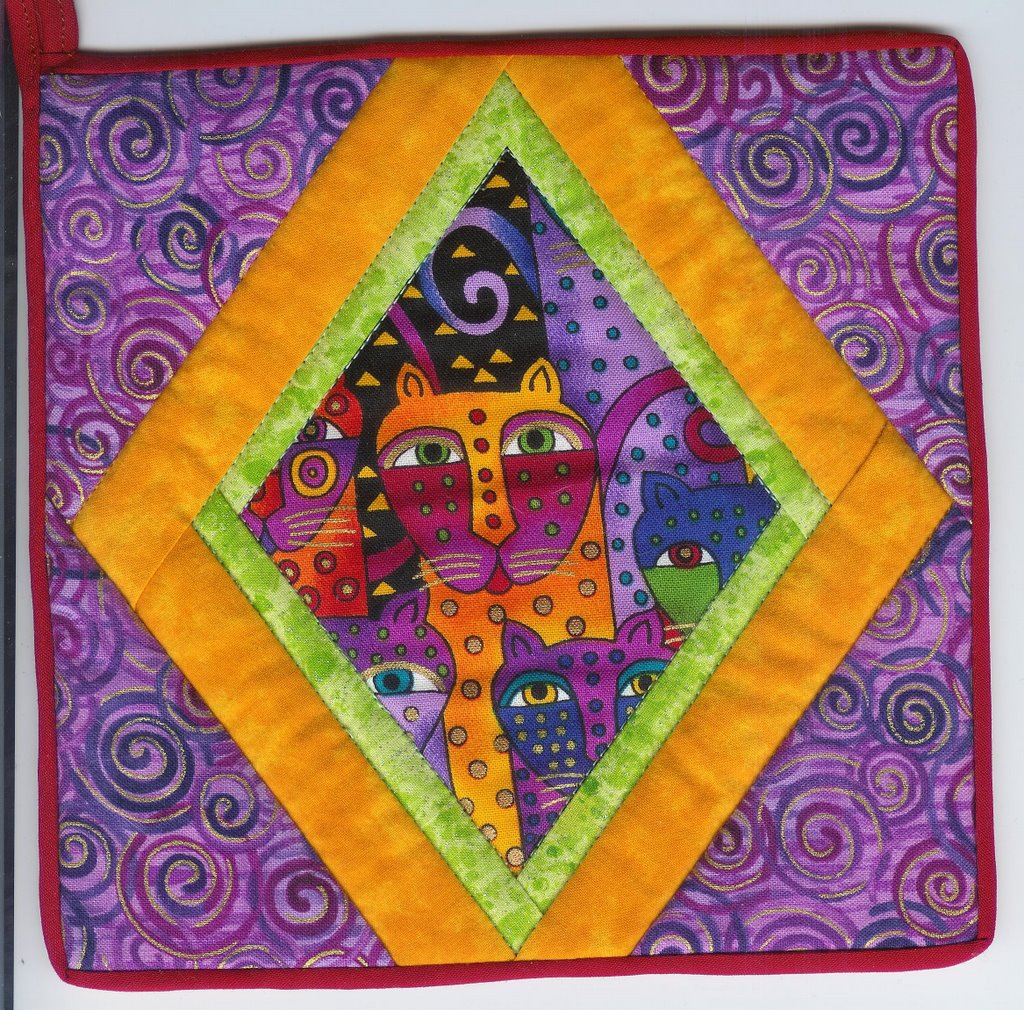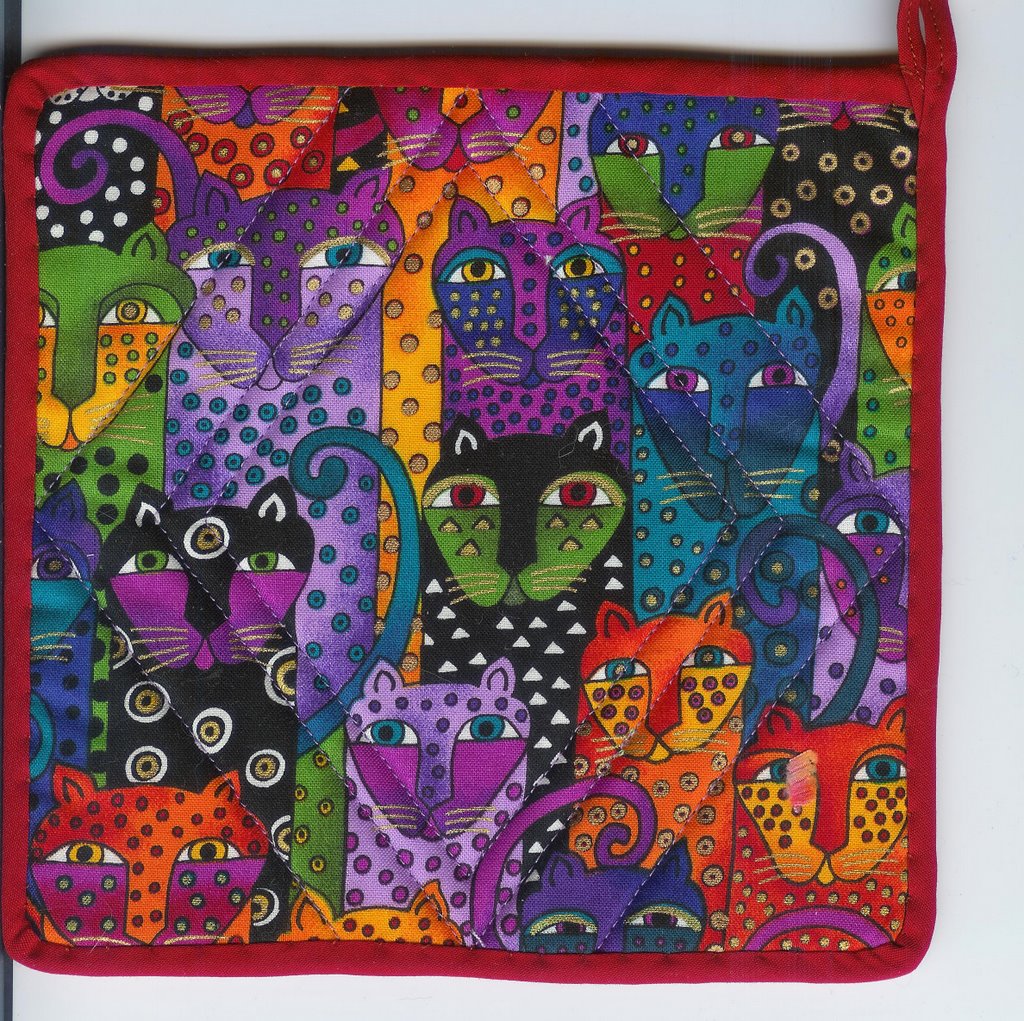
Thursday, November 23, 2006

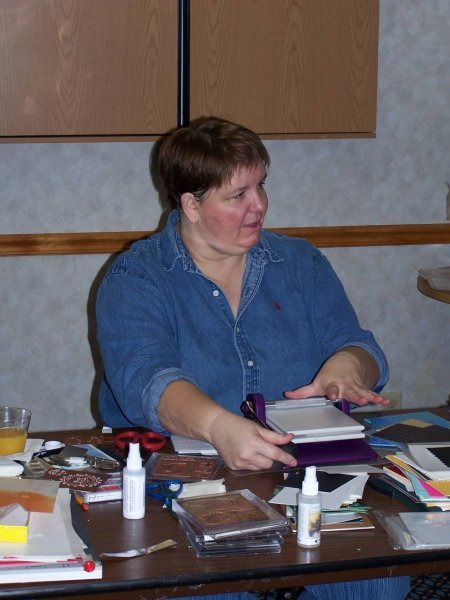
Cindy Cade is another Art Basher who has a heart of gold and a laugh to go with it. But wow is she great with the Spellbinders Wizard. She put it through its paces and gave us a packet of several different materials to practice with.
It was a great learning experience. Unfortunately, I have put my results, along with the rest of my treasures from the get-together, in a safe place (!) and now I can't find them to scan. But trust me when I tell you that this gal knows the Wizard and does some great art pieces with it. My favorite is running a brass stencil through and getting an immediate fully dry embossed image -- no more tedious tracing on a light table with those little tools that always poke through the paper at least once. And then there's the textured embossing and embossing on metal, and, and and!
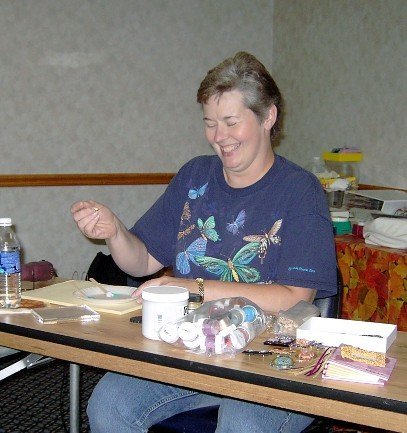
I was so happy to finally meet Wanda Hentges who drove all the way from Iowa to be with us and do this demo of ruffled plastic. Note the gorgeous shirt she is wearing -- yup, she decorated it. She and I did some swaps in another online group a couple years ago and she's every bit as wonderful in person as she is online -- look at that great smile -- it lasted all weekend and brightened the room! She also helped me through other techniques -- I'm usually the last one to "get it" but that's ONLY because I can't hear well. LOL
Here's Wanda demonstrating the ruffled plastic technique. Mix Lumiere paints with gel medium with a wooden stick, then add the various colors to a piece of shrink plastic. Hold the heat gun back from the plastic and heat just the mixture on top. When it is "ruffled" heat the entire piece so it shrinks and flattens. Wanda used black shrink plastic and punched out an oval piece with scalloped edges. Mine turned out a little wonky so she gave me her demo piece -- the one shown here.
These are some of Wanda's gorgeous pins and ear rings made with the "ruffled plastic" technique.
This was a lot of fun and you can tell that Wanda loves trying new things and then teaching them -- she made a little frame with this technique and put it on the front of a book -- very cool!
Here is Sarah Hodsdon teaching us a really neat cigar box -- checkers. We taped off the wooden box in a grid with blue masking tape, then painted it black, inside and out, and then added felt to the inside. Many people stamped on some of the squares with metallic paints. The "checkers" are round glass "thingies" that you buy at the craft stores or online. You can glue images on the bottom that are then magnified. Neat idea and a fun class -- mine's not finished yet ...... Sarah sat in front of me during the bash and is such a creative, sunny individual not to mention a fun teacher.

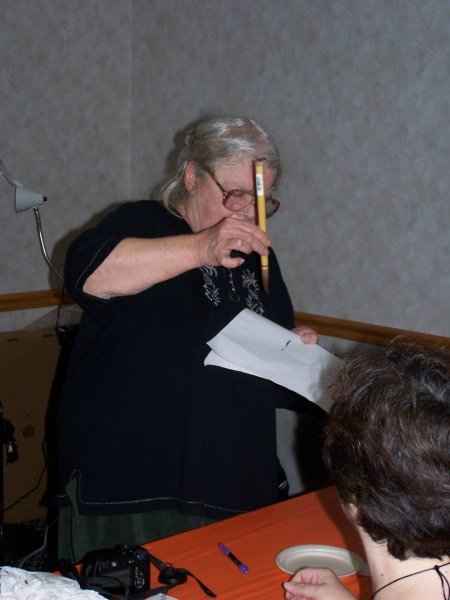
Getting back to the classes at Art Bash North (Oct. in Cincinnati), below is Pat Wiley-Shafer demonstrating the proper way to hold the brush to do Sumi-E painting. Pat is a lovely person, a great teacher, and it's not her fault that I don't
have results to post -- I just can't make the shift from mind to fingers with this form. I want to do learn to Sumi-E cats but can't seem to get the basic strokes. Chris Puhls produced some magnificent bamboo and as you can see, Cindy Cade "just playing around" produced this lovely Sumi-E design before painting over it during Sarah's cigar box class. And Sarah drew a cat in a lightning flash, with just water on her pen, and handed it back to me but unfortunately it won't scan and I can't even trace it! LOL These gals are truly talented and amazing.

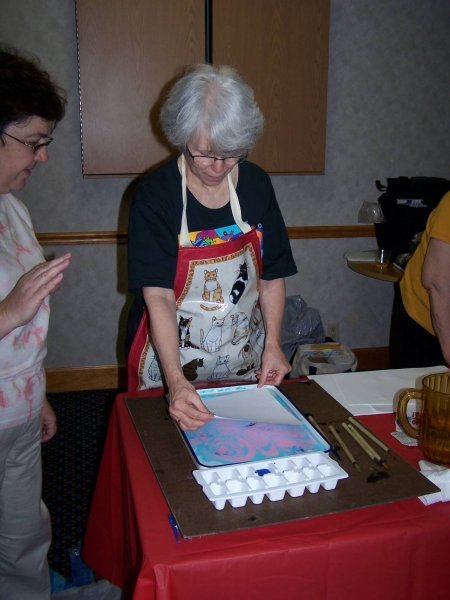
This is Pat K. Thomas, on the left, marbling artist and teacher extraordinaire! She hails from Sevierville, TN and her fantastic art can be seen at this gallery:
http://www.cliffdwellersgallery.com/pat_thomas.htm

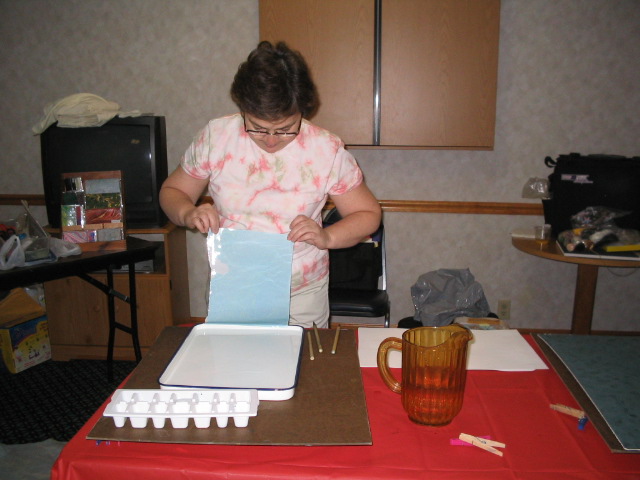
Here she is demonstrating the proper way to hold the
brushes to begin Sumigashi marbling to Pat Wiley-Shafer (more about her later!).

Pat K. Thomas pulling
a sheet of Sumigashi
marbling. I'm sorry the
detail doesn't show; she
demonstrated the procedure
and then pulled a gorgeous
pale image of pink and blue.


Okay, my turn! Dip the
Japenese brushes into the
paints, drop them on the
water, repeat, left, right,
left right. Oh, this is
fascinating to watch.
Then blow on the water to
disperse the paints and
the concentric look.


Now it's time to transfer the
marbling from the water to
the paper. Breathe deeply -
remember -- it's a zen thing!


Laying the paper down onto
the Sumigashi ink/water.
and bottom right to top left --
easier said than done!


My first Sumigashi page.
Pay no attention to that
white spot at the bottom
left -- the page can be cut!!!
There is a trick to not only
laying down the paper but
also one to picking it up!

Sunday, November 19, 2006


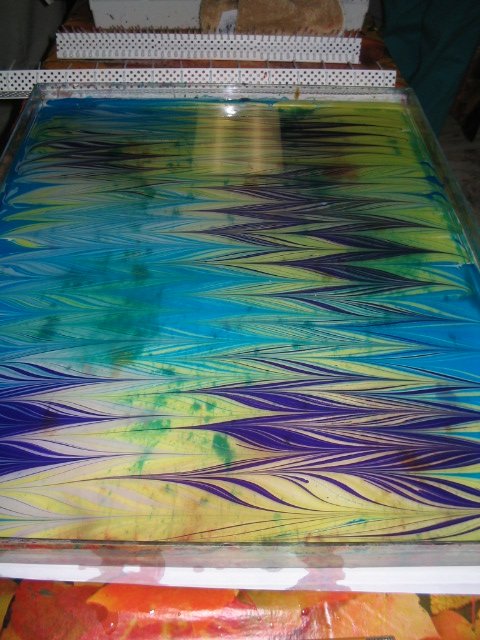
Okay, enough of plain water Sumigashi (what I call Marbelling Light! And on to the marbling with deeper darker colors and "sizing" in the water to make the paints float on top and if they float to the bottom, they are out of the way.

Here Pat is demonstrating laying the paper down correctly onto the marbled surface of the prepared water. Isn't that a beautiful design!
Unfortunately I couldn't locate a picture of her showing how to drop the inks onto the water.


I have dropped the colors onto the prepared water trying to form a color pattern I think will work well for this design.
Here I am starting to move the paint around after dropping blue, yellow and purple onto the surface of the prepared water, using a long thin wooden "stick." There are many patterns one can make with this method and all are gorgeous.


Here's my sheet part way
into the multi-step
marbling process.


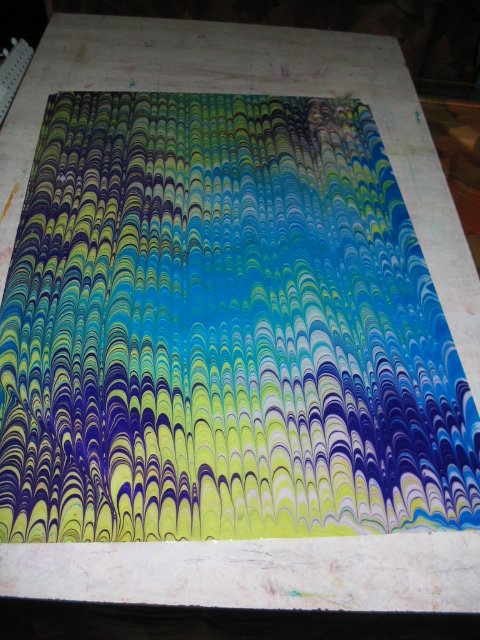
Here's my final product. Not perfect but I love the colors. I marbled several other sheets, including a ghost sheet of this one (second laying down of paper on water) and hope to have lots of fun playing with these. And I plan to try this at home in the future (OH NO!).


To put it all into perspective, here's the gorgeous check book cover I purchased from Pat Thomas. This scan does not do it justice -- silver, gold, copper and black --
incredible work! I hope to post things I make with her wonderful sheets of paper in the future.

Thursday, November 16, 2006

I am very late posting about Art Bash North, held in Cincinnati in October. This was put on by the Artists of the Round Table -- a wonderful online group of artists that I am fortunate to be a part of -- even though I am way behind in my assignments! My dear friend Gina (far left, back row), introduced me to this group and yup, that's
the famous Nancy Curry (smack in the middle of the back row). She is such a super person, as are all these gals.

This is our group photo in the lobby of the hotel where the event was held and we are holding the "flat people" who could not attend in person.

This were two days of non-stop classes, taught by several of the members pictured here, sharing of art we'd brought, discussions, food, a swap and sale (did I mention food!!!). A great time was had by all and I made some terrific new friends whom I've sadly neglected as I worked on other projects. But I know they are a forgiving group. Just look at those smiles. Thanks Chris for setting this up, Jacqui for starting this group and your leadership that makes it the wonderful group it is, and to all the instructors who will be featured in subsequent posts in the next few days as I catch up.
And last but certainly not least, Terry (left) is presenting her bright and sunny quilt to Betty. What you cannot see until you click on the photo are the many many tiny crystals Terry added to this sunny landscape. And note how she finished the bottom edges.

It is amazing to me how we all did such different things with our bags of stuff. The tough part was not knowing who they were for (or guessing the wrong person!!!).
This is Betty (left) presenting the Bag of Stuff quilt she made for Terry -- a gorgeous Asian creation with lots of detail.
Again, be sure to click on the pic for the details.

Saturday, November 04, 2006

I will post the other two art quilts as soon as I have permission from the creators to do so.

Meanwhile, I continue to paint a bit and have been fooling around with some free stitching.
Linda has inspired me!
Claire drew Linda's bag of stuff and created this magical, whimsical, colorful wall quilt. These ladies are all awesome quilters who not only have fantastic skills but are also very very creative and I am so honored to be part of their group. How they tolerate my feeble attempts, I'll never know. Perhaps they are being kind to underdog quilters!

Claire said her goal was to use everything in the bag and did she ever! I'm sorry that my picture does not do justice to the details so will try to get a close-up to post later. The techniques and embellishments are incredible. And what a lot of work. When Claire gets in the groove, she rocks!
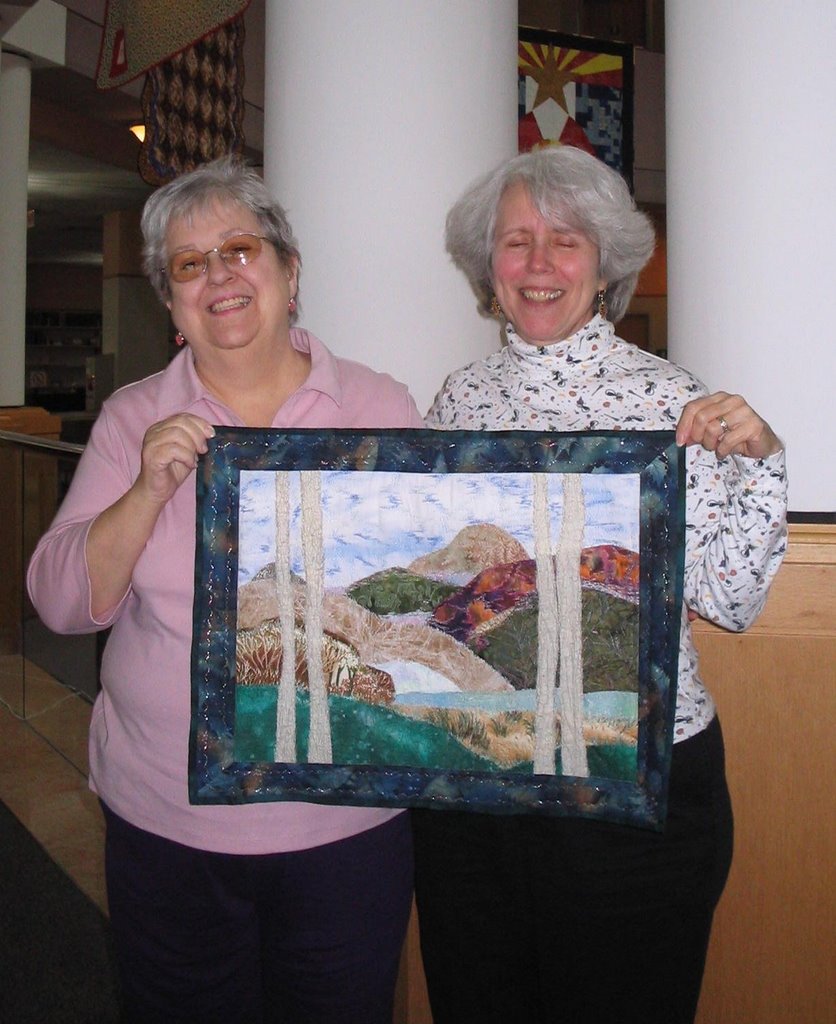
This is the wonderful art quilt I received from my dear "quilter" friend Linda, whom I met online when I sold her a quilt book about 4 years ago. She has introduced me to many wonderful quilting adventures -- including asking me to join our little art quilt group. This wall quilt is especially dear to my heart as she bought the pattern when we attended the Nashville Quilt show from a Vermont vendor and so I know these are the green hills of Vermont -- one of them alive with color! Our "new" camera bit the dust and has been sent back so I will post
a close-up of the quilt as soon as we receive a new one so
that you can see all the free stitching she has done -- creating clouds, water, mist/fog, dimension in the hills and valleys and to my favorite white birch trees. She "drew" my bag of stuff in our swap which only contained a large variety of leaf batik fabrics. She added the sky and several other light fabrics to balance the colors. I gave her a "real" challenge with those fabrics. You can just see some of the quilts from the library quilt show in the background.

Friday, November 03, 2006

Anatomy of an Art Quilt!

The bag of "stuff" I drew.
After reading a Quilting Arts article, we -- the 5 members of our art quilt group -- exchanged bags of fabric and embellishments. We did not know whose bag we drew so did not know who we were making the art quilt for. We were to make a wall quilt of our choosing, using what we'd drawn, but we could add fabrics and embelishments of our own. It had to be 20" x 20" or of equivalent measurements. We had about 6 months to make the quilts but were two months late exchanging them. Only one person was on time (not me!).
I got a bag with several different batiks (which I later learned were hand dyed -- glad I didn't know that at the beginning!).
Also in the bag were two pieces of "wild fabric" and lots of embellishments -- shown here.

Thursday, November 02, 2006

This is my "dry run." I could NOT figure out how to cut this out. I read and reread the directions and finally my better half (an engineer and programmer) had to walk me through it and through it and through it. The quilt was supposed to be rectangular but the "sky" pieces were not long enough so I took off the outer straight edges and added the pieces from both quilts to the bottom of this one. I got the curved idea from an "underwater" quilt in the book I used for inspiration and ideas (Creative Fabric Weaving). I have since added (what else) a batik cat sitting face forward on one of the lower "hills". I wil also add a half-sun and perhaps some flowers but but will not add all the decorative stitching except in the hills. Will post it when finished. DH likes the design in the batiks and I do too and I've had enough free hand sewing for a while! Maybe in a few months.......
A little more detail on the flowers.


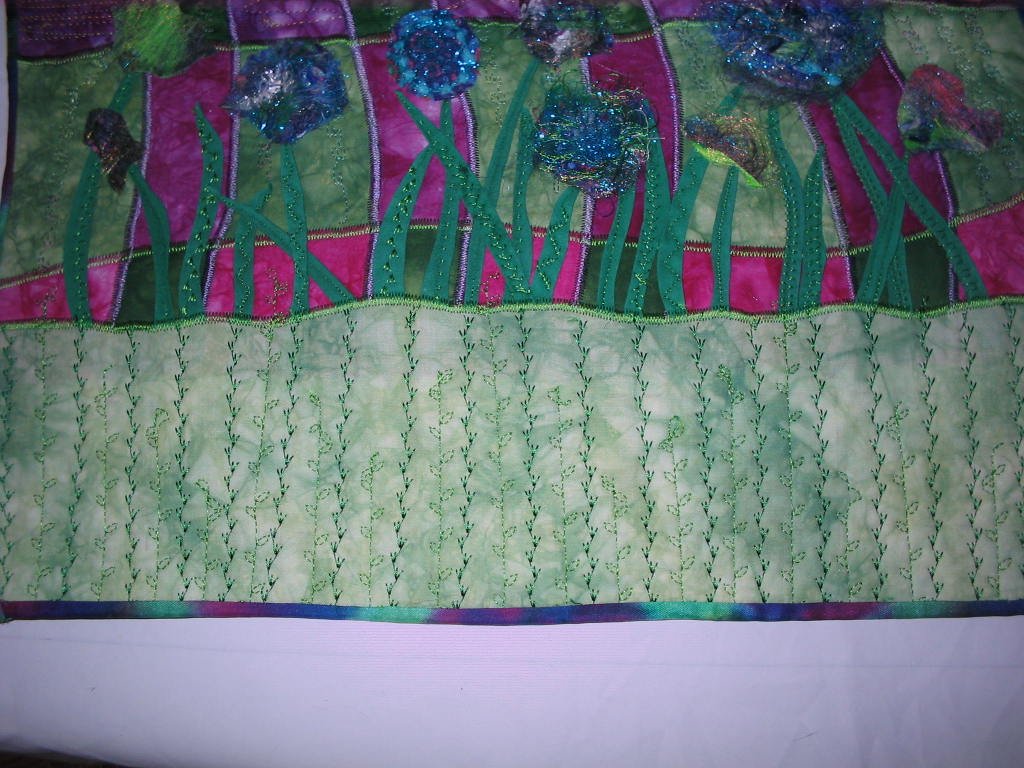
Detail of the "grass" or bottom of the little quilt.


Detail of the sun in Clair's quilt. I had cut out a whole sun but my very talented friend Gina suggested I have it peeking out from behind the trees and she's right -- it is so much more effective that way.


This is Claire (on left) receiving her little quilt from me . We had such a fun meeting that day. We met at the main library, downtown Lexington, and viewed the quilt show in the rotunda. Then went to the library gallery for another fantastic fiber and fabrics creations show. Then to lunch and then back to the library to exchange our quilts on the 2nd floor, with the quilt show as a back drop.
This is it -- the little art quilt (18 x 22) that I made for Claire for our art quilt group's "bag" challenge. Click on it to see the stitching detail and the flowers. Whew. Don't think I've ever been as nervous doing an exchange. But then, it's my very first "art quilt."

Wednesday, November 01, 2006


A picture taken of the quilt hanging at the Berea Quilt Extravaganza.
I belong to a small quilt art group (5 of us) and we made a little challenge quilt for the Berea Quilt Extravagana under the auspices of the Kentucky Art Quilt Society. We each made blocks and helped put the quilt together with ribbons, lace and other odds and ends. Sorry the detail does not
show too well. My block is the white one with the hat, purse,
scarf, shoes -- in pink and purple. Three members of our group are holding the quilt, L to R: Betty Acker, Claire Breswick and Terry Daugherty. Their blocks are much more
attractive shown in detail. Also Linda Gibson and a former member, Joyce Wright, contributed blocks and finishing work.
Time to post some of the things I've been up to. This is my Nov. swap postcard for KQS/AQS. While the scan doesn't show it, the fabric is a partially sheer shiny moss green with copper leaves. I free stitched the tree using straight lines and then adding texture with different decorative stitches on my machine. I used copper metallic thread -- a real challenge.

Monday, October 16, 2006

Some have asked about my current cats and so here they are. I'm starting with the youngest and newest (to us) and adding them according to age.

This is Lindy (she was originally named Princess and belonged to a very dysfuntional group of people who lived down the street). She seemed like a large kitten but when we had her spayed we found out she'd already had a litter. It's a long story but we ended up stealing Lindy -- her predecessor was not taken care of, not fed (except by all the neighbors including us) and finally ended up on the road dead at a very young age. Lindy lived with us for months before we realized she belonged down the street. We have since learned that her former "people" are drug dealers (uh oh). We call her "Lucky Lindy" just because she survived long enough to join us but also Houdini because if she gets out on our 12ft deck, she will climb straight up the walls, climb onto the roof, jump off, have her advetures and then be waiting at the front door a short time later. So, she's been grounded until we figure out how to let her be out on the deck without escaping. She has settled down a bit but was one of the most active young cats I've ever had. She is definitely not a lap kitty, loves to ride on my husband's shoulder and be in his office but she will allow us pet her as long as we don't hold her.
(Maybe we should have kept her original name: Princess!) Lindy loves to play with Nick and George but only on her own terms and on her own schedule. Like a lot of black and white cats, including our Muffin, she gets into the most bizarre positions when she sleeps. She keeps us
amused and laughing!
This is our sweet Nicky who has been with us about three years. I used to walk a dog in the neighborhood that adjoins ours and little Nicholas would be out in the cold with no water, out in the heat with no water, and often no food. He slept under a pine tree. He had appeared at his owners' house on Christmas day, thus was named Nicholas. He was so sweet and playful and I often took him food and water. I agonized about him for over a year. His owners said they'd made him an outside cat because he sprayed (they had other cats inside). I wanted to steal him but DH nixed that. So after losing my old sweet Pumpkin to a stroke, I finally got the nerve to ask the owners to adopt Nicholas. They offered me not only Nick but all their other cats too. The woman was pregant with twins! I took Nick and he settled in after a few sparring contests with the other "boys." We renamed him Nick and he is a sweet lap kitty and loves to play now with George and especially loves Lindy but is trying to take over as the alpha male so they spar and spit a bit. He's so soft and fluffy!
This is our middle fur child, George (we didn't name him!). He belonged to another neighbor and lived outdoors even in the coldest weather. He was not real healthy as a youngster and I asked his owner if I could adopt him. Needless to say, he not only became strong and stout but is the longest cat I've ever seen. He's a real lap kitty but drives us crazy with his crying to go outside, wanting to eat all of 2 bites of fresh dry food and worst of all, very rudely awakening us at very early hours, summer or winter. He plays well with
Lindy and Nicky and can often be found sleeping
in the linen closet. He has learned how to open the folding doors but it is so noisy that we usually give up and assist him. He's on my lap now, purring away, after just "coming out of the closet!"
Several of my cats through the years have loved to sleep in the sink -- it seems to be a phase they go through and then they quit.

This is Muffin, aka the Muffinator, so named by my husband because she was such a prolific hunter when she was an indoor/outdoor cat. All our cats are indoor cats now.

Muffin lived across the street, had a perfectly nice home, but decided to move into ours because she and Rusy were playmates. She came through the cat door (now closed) and stayed. Her former owner finally asked if we wanted to adopt her. She plays only with Rusty and is the senior female curmudgeon but is getting a bit friendlier with me as she ages. She really likes my husband best but will curl up to either computer given the chance.
Last but not least, This is Rusty who came to us with no ID and was eating bread we'd thrown out for the birds (and which had gotten wet and soggy). He moved right in and we advertised and failed to find his "person" he became part of the household. Now he is the senior curmudgeon and spends most of his time sleeping. He loves to climb on top of me as soon as I get into bed -- keeps me from reading. Did you know that cats are the cause of most of the adult illiteracy in this country? Even if I lie on my side to go to sleep, he will balance there until he
falls off and snuggles in the covers. He does not play well with others ,except for Muffin.

Saturday, October 14, 2006

This is my Oct. fabric postcard for the QAK swap.
I got the idea from a new quilting book called:
Creative Fabric Weaving by Julie Higgins.
I had stamped some leaves on ultrasuede and cut them out but then couldn't bear to cover up all that variagated stitching! So, having one plain block, I stamped it instead.
This is another of my early water color efforts in my classes with Bill Tippie. He was teaching me the
misty/foggy effect and a different way to do the sky. Over the years this has become more and more a favorite of mine. I've always loved cat tails -- perhaps the name???). I now have this framed in gold and it really sets it off.

Friday, October 13, 2006

This has mostly caught me up with the paintings I'm willing to post that I've completed. Will post a few more and then on to the handmade paper, handmade books and hopefully some more fabric art. And someone asked for pictures of my cats so will be adding those soon too.

Happy Creating,
Lorraine
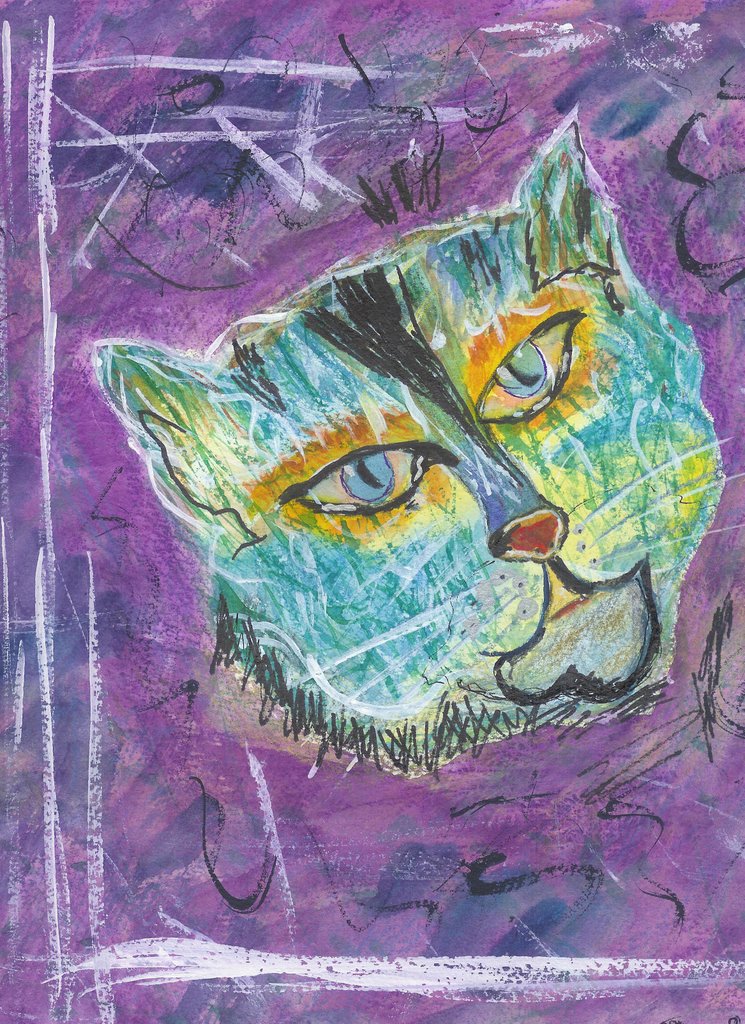
Mixed Media Cat -- this month's lesson in modern art cats. I found a painting in a cat art book and we tried to do someting similar. Bill's, of course, turned out much more realistic and not as weird looking as mine. I want to try this again but it was so much fun because we used water colors, water color pencils, acryllics, waterproof pens and then I came home and added more wc pencils and Sharpie pens.

Thursday, October 12, 2006

This also an early wc where Bill was teaching me how to do weathered board and he added an old white jug with flowers in it. You should see the detail in his woods! Incredible. I have this on my mantle because to me it represents a start -- where I was -- and hopefully a comparion of where I'll go with my painting. So far I'm not there yet but I'm enjoying the journey!
This is one of the few trees that I liked well enough to frame. I love fall foliage and can never seem to capture what I see or what I see in my mind. It slipped a bit on the scanner which is a bit rounded instead of flat -- who in the world would design a
scanner like that where everything slipps to the front and slides around. I think this was painting wet into wet -- water color -- and another class with Bill.
This is a little oil painting I did in a class with Bill. It doesn't look this good in real life but is probably one of my better cats and that's not saying much!
This is another early watercolor I did in a class with Bill Tippie. He is a marvel at snow scenes, old buildings and barns and has his own "signature" evergreen tree which I'll never be able to replicate! This one reminds me so much of the blue shadowed snow in Vermont and makes me shiver in our much too early 30 degree weather this week. Please be sure to visit his site:
tippieart.com for some "real" talent!

Tuesday, October 10, 2006

This class with Bill was so much fun and I think what started me on the road to wanting to do a series of abstract cats. Bill taught me this a few months ago. First we drew our cats on 300 lb. water color paper with a nice rough bumpy finish. Then we wet the canvas all over. While it was still wet, we dropped paint onto the canvas from our brushes; then added more and then more, varying the colors. Then dried it with a hair dryer. Then we used permanent black pens and started outlining the color, wherever it changed shades with wiggly little lines. It was fascinating. I opted for a calico cat. Bill has made some great paintings this way, "finding" all kinds of things in the drawings -- fish, flowers, and so on and then augmenting the painting with drawings of his own. This is so much fun.